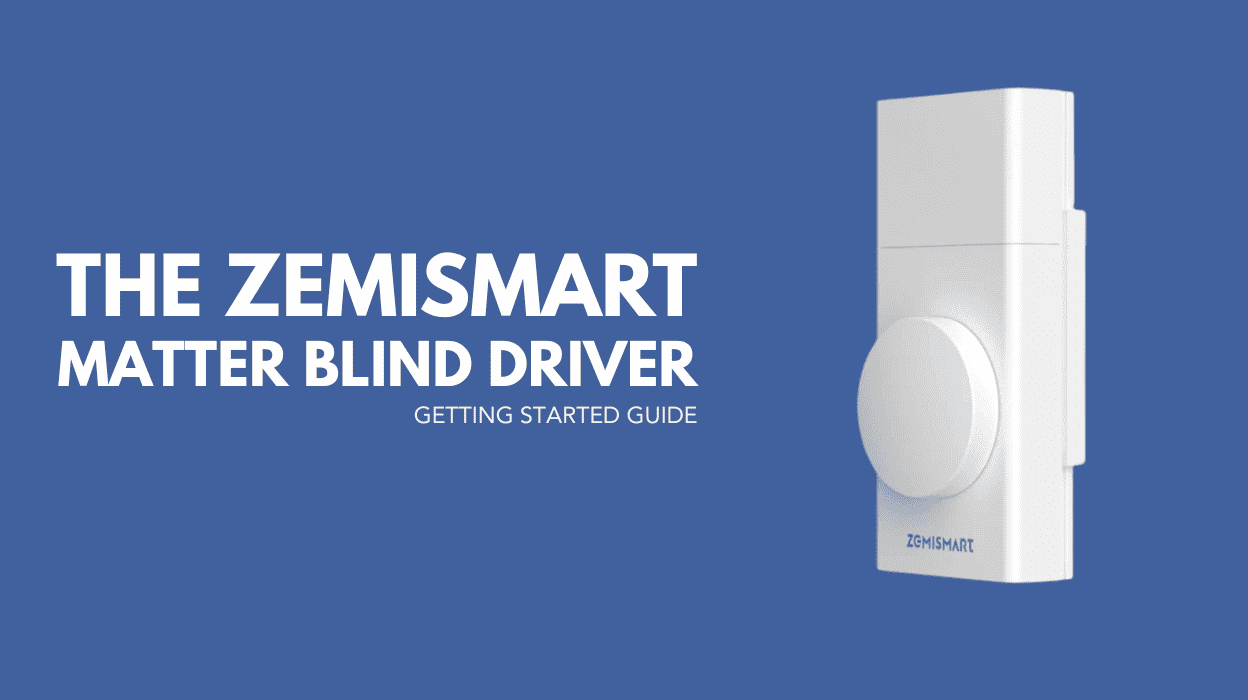
Retrofit blind automation is the easiest and most cost effective way to bring smart home functionality to your windows, without replacing your existing blinds. Among the growing market of smat blind motors, the Zemismart Matter (over Thread) Blind Driver stands out, not only for its smooth performance, but for its forward looking adoption of next-gen smart home protocols.
This sleek, battery powered unit combines modern automation with effortless installation and wide compatibility, powered by the cutting edge Matter standard and low power Thread networking.
Table of contents
What Is Matter Technology?
Whether you’re a smart home veteran or just getting started, Matter is the new universal standard you need to know. Jointly developed by Apple, Google, Amazon, and the Connectivity Standards Alliance (CSA), Matter was created to unify smart home ecosystems. Its core goal? Ensuring seamless cross-platform compatibility and eliminating the frustration of juggling multiple apps and ecosystems.
Thanks to its Matter support, Zemismart’s blind driver integrates effortlessly with Apple HomeKit, Google Home, Amazon Alexa, and Home Assistant. Whether your home runs on iOS, Android, or a hybrid of the two, this device fits right in—no proprietary app required.
Matter over Thread: Fast, Efficient, Reliable
Unlike Zigbee or Wi-Fi smart devices, the Zemismart driver uses Thread, a low-power, self-healing mesh networking protocol designed specifically for smart home applications.
Thread provides lower latency, more stable connections, and better energy efficiency, all without the need for a dedicated central hub. For homes with numerous connected devices, Thread is a future-proof solution that simply works.
Battery-Powered Convenience
The Zemismart Blind Driver includes a built-in rechargeable battery, eliminating the need to wire into a power outlet. Charging is handled via USB-C, and the port’s smart placement on the underside of the device means you can charge it in place, no need to remove the unit or re-calibrate. Depending on usage, a full charge can last four to five months.
What’s in the Box?
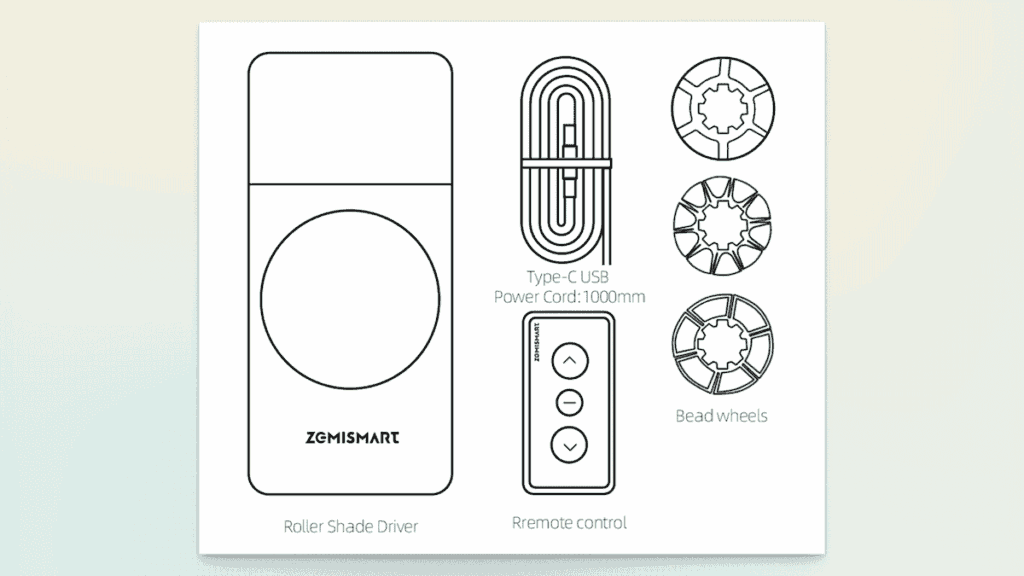
Inside the Zemismart box, you will find:
- The blind driver
- USB-C charging cable
- A selection of blind gears (for compatibility with a wide variety of blinds / different chain types)
- A surprisingly useful remote control
Smart Automation, Streamlined Setup
Installation is straightforward: mount the driver on the wall, attach it to your blind chain, calibrate, and pair with your Matter compatible hub (such as a HomePod or other border router).
Zemismart Blinds Driver Physical Installation
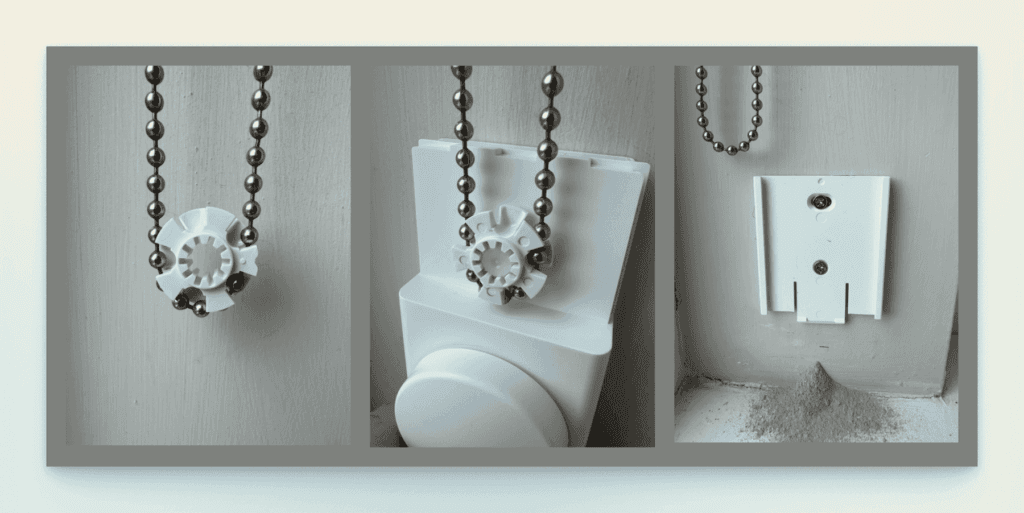
Installing the driver took about 15 minutes. I started by selecting the appropriate gear wheel and loosely hanging the unit to mark mounting points.
While a 3M adhesive pad is included, I opted for a permanent screw mount for greater reliability. The device offers three speed settings, with the slowest being exceptionally quiet, perfect for early morning automation.
Zemismart Blind Driver Calibration
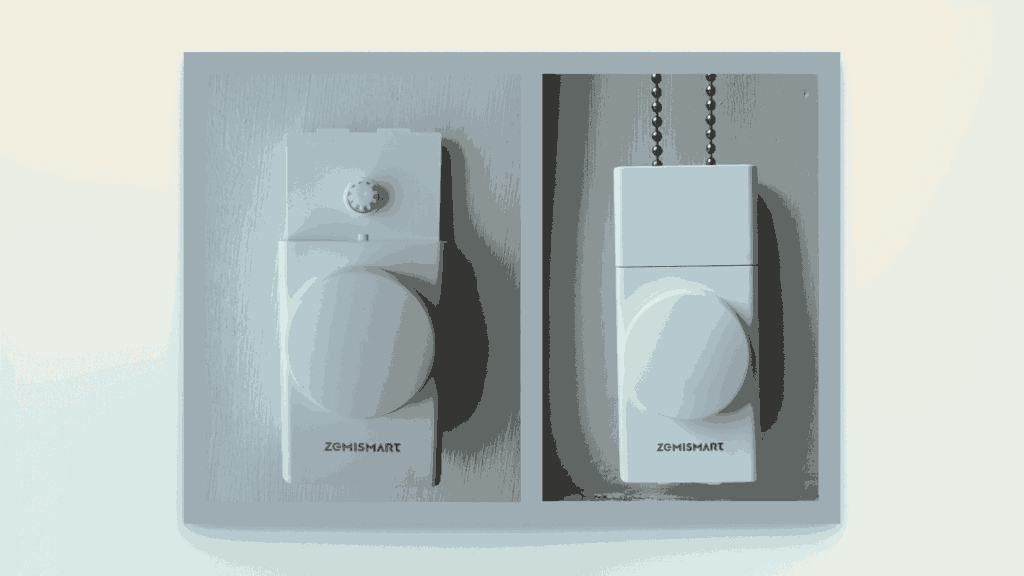
Calibration was impressively simple. Using the dial on the unit or the included remote, I set the blinds to the “open” position and followed a few button-press steps to lock it in.
I repeated the process for “closed.” No app required, just quick, straightforward calibration. The device stores open/close settings locally and communicates them to your selected Matter platform (Apple Homekit / Home Assistant etc).
One thing to note: It is important to allow as much clearance between the window and the blind driver for the blinds to pass as possible. I found with the square design my blind snagged on the corner of the driver as it closed. It catches briefly but it doesn’t restrict functionality, a rounder top corner would have avoided this.
Zemismart Integration with Apple HomeKit
Adding the driver to Apple HomeKit was effortless:
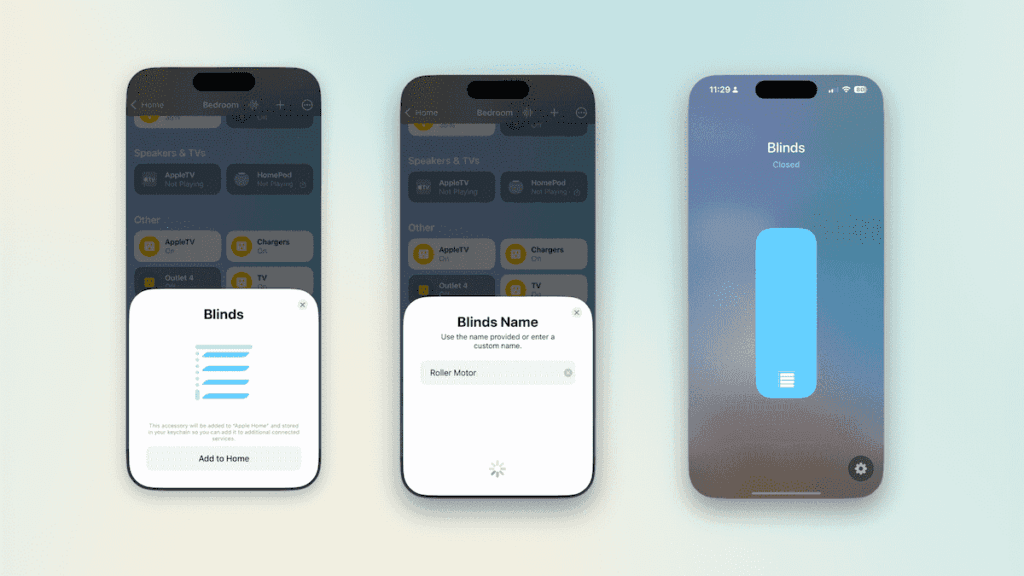
- Open the Apple Home app.
- Tap the “+” icon and select “Add Accessory”.
- Scan the QR code on the back of the unit.
- Name the accessory and assign it to a room.
That’s it, your blinds are now controllable via Siri, scenes, and automations. For more information on Homekit see out ‘Getting Started with Apple Homekit‘ guide.
Adding Zemismart Blinds to Home Assistant
For those who want more advanced automation, Home Assistant is a powerful option. Since the driver is Matter compatible, it can be paired with multiple platforms simultaneously.
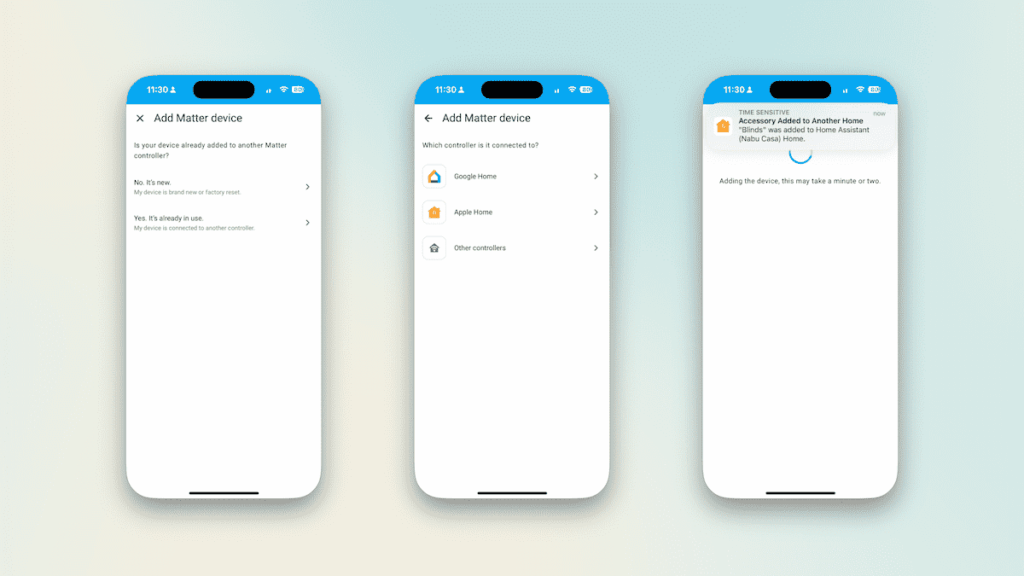
To add it to Home Assistant:
- In Apple HomeKit, go to the blind’s settings and enable Pairing Mode.
- Copy the Matter pairing code.
- In Home Assistant, navigate to Devices → Matter → Add Device, then paste the code when prompted.
Within seconds, the Zemismart blinds appeared in my dashboard, ready for daily automation and logging. I use Home Assistant for all my smart home automation as it offers lots of flexibility as well as accurate historic data.
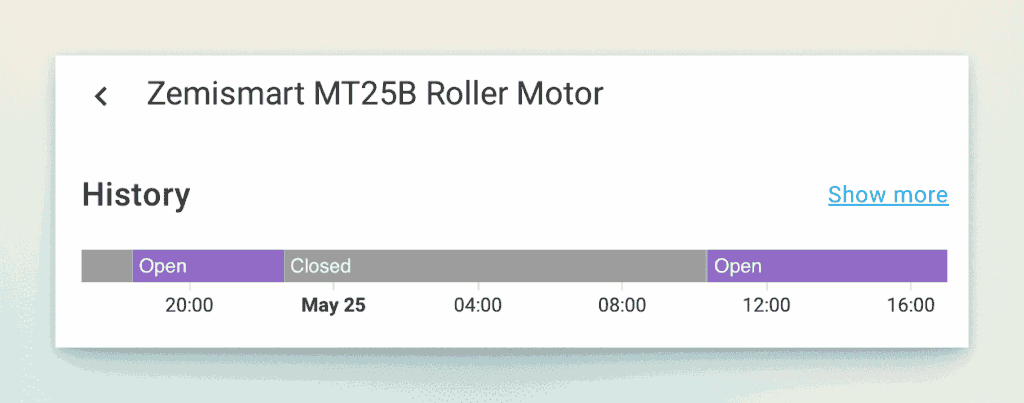
My Current Smart Blinds Setup
- Automated by time (open at 8 a.m., close at 10 p.m.) via Home Assistant
- Voice control via Siri using Apple HomeKit
- Manual control using the brilliant little Zemismart remote (supplied).
- Manual control using the dial on the blinds driver.
Conclusion
With support for Matter, an intuitive setup process, and a battery powered design that’s both convenient and efficient, the Zemismart Blind Driver is a brilliant addition to any Matter compatible smart home.
The smart blind driver offers retrofit automation without compromise, easy to install, easy to integrate, and packed with forward thinking features. Best of all, it works right out of the box without any the need for third party hubs or apps. The range of control options makes the device accessible by both home visitors and HomeKit users.
Links
Zemismart on Amazon (affiliate link).
Our Favourite Smart Home Devices
Smart Blinds Reviews
Zemismart Website
Getting Started with Apple HomeKit
Discover more from The Smart Home Blog
Subscribe to get the latest posts sent to your email.


